🛡️ Radar BSD Maintenance Guide
Keep Your Blind Spot Detection Working at Peak Performance
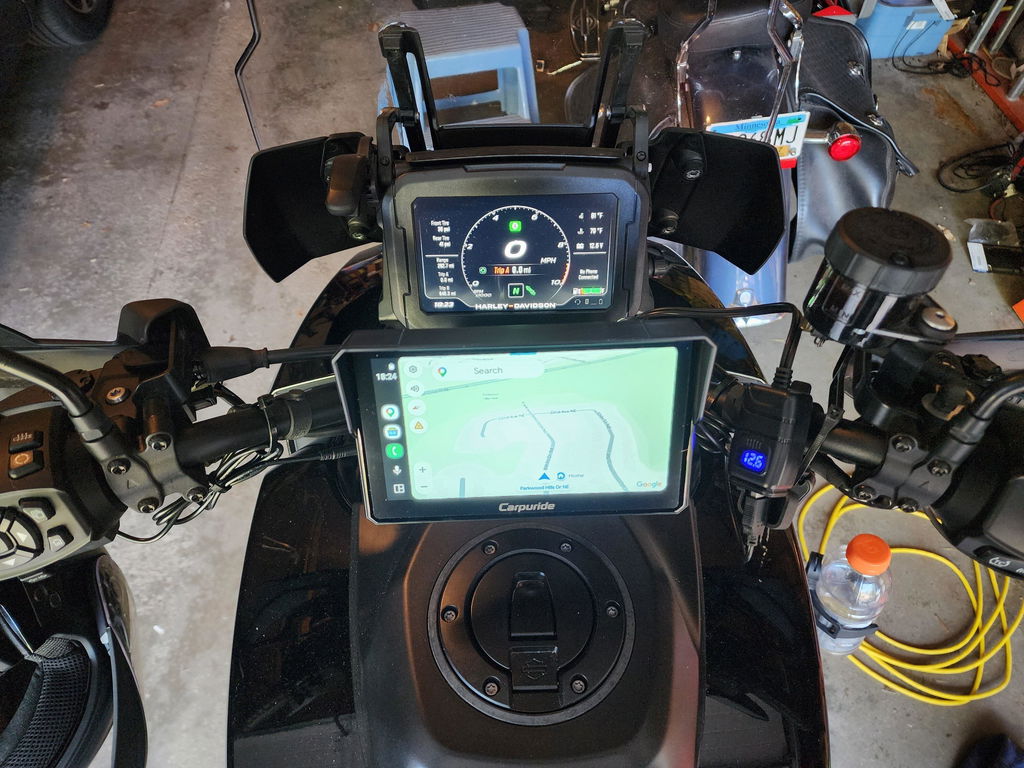
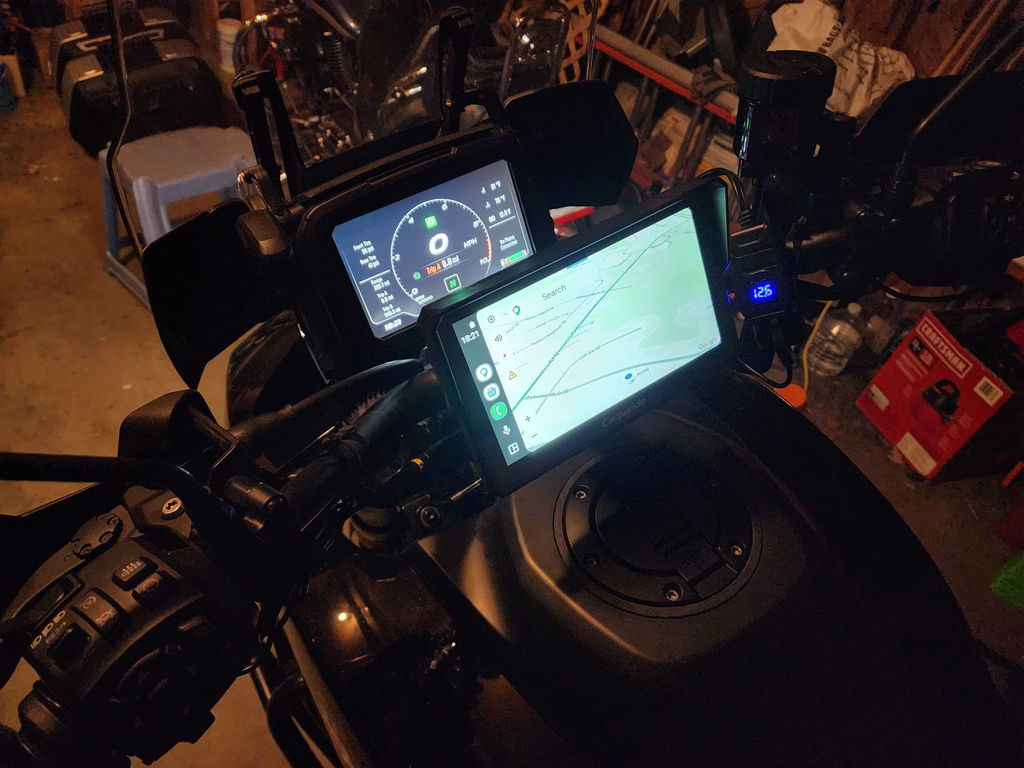
The Radar Blind Spot Detection (BSD) system on your Carpuride 702RS Pro monitors vehicles from 0.5 to 50 meters behind you, providing critical safety alerts through visual warnings on your screen and audible sound alerts. The sealed radar sensor is designed for durability and requires minimal maintenance to perform reliably in all conditions.
🎯 How the Alert System Works
Dual Alert System: The radar BSD provides both visual and audible warnings to ensure you never miss a potential hazard.
Visual Alerts:
- Yellow Alert (3-10m): Vehicle approaching - flashes on left, right, or bottom of screen
- Red Alert (<3m): Vehicle very close - immediate attention needed
Sound Alerts:
- Audible warning beep accompanies visual alerts for enhanced awareness
- Sound maintains consistent frequency regardless of vehicle distance
- Can be muted in system settings if preferred
Detection Specifications:
- Detection Range: 0.5-50 meters behind and to the sides
- Detection Angle: 120-degree coverage area
Understanding Your Radar BSD System
Sealed Design Benefits:
- Fully enclosed sensor - dust and light dirt don't affect performance
- Weather-resistant construction for all riding conditions
- No calibration required - works out of the box
- Maintenance-free operation under normal use
Alert Positions:
- Left side flash: Vehicle approaching from left rear
- Right side flash: Vehicle approaching from right rear
- Bottom flash: Vehicle directly behind
Proper Installation Position
Correct installation is critical for optimal radar performance. Follow these specifications exactly:
Installation Requirements
- Location: Install at center rear of motorcycle
- Orientation: Triangle marking must face upward
- Height from ground: 600-800mm (tolerance: ±100mm)
- Detection angle: 120-degree coverage (60° left + 60° right from center)
- Mounting surface: Plastic or composite material only (NOT metal)
📐 Installation Angles
Horizontal Angle: Sensor must face directly backward (0° deviation). Angling left or right reduces detection accuracy on one side.
Pitch Angle: Sensor face should be perpendicular to ground. Tilting up or down reduces detection range. Mounting plate can be installed on top or bottom of sensor as needed to achieve proper angle.
Installation Steps
- First: Mount radar sensor at center rear, triangle marking up
- Second: Verify height is 600-800mm from ground
- Third: Connect radar cable to main unit
- Fourth: Power on the system
- Test: Verify alerts appear correctly (both visual and sound)
⚠️ Critical Installation Rules
- Never mount on metal surfaces - Metal interferes with radar waves, drastically reducing range and causing false alerts
- Never plug/unplug cable while system is running - Always power off first to prevent damage
- Triangle marking must face up - Incorrect orientation causes detection errors
Mounting Plate Position
The mounting plate can be installed on either the top or bottom of the sensor depending on your motorcycle's rear structure:
- Top mounting: Use when sensor needs to tilt slightly downward
- Bottom mounting: Use when sensor needs to tilt slightly upward
- Goal: Achieve perpendicular angle to ground for maximum range
Monthly Maintenance: Sensor Cleaning
While the sealed design protects against dust, heavy mud or road grime buildup should be cleaned for optimal performance.
When to Clean
- After riding through mud or heavy dirt
- When thick road grime is visible on sensor face
- Following off-road or trail riding
- If you notice reduced detection range
Cleaning Method
- Power off motorcycle completely
- Rinse sensor with clean water to remove mud and dirt
- For stubborn grime: use soft cloth with mild soap and water
- Rinse thoroughly to remove all soap residue
- Dry with clean cloth or let air dry
- Avoid high-pressure spray directly on sensor face
💡 Sealed Design Advantage
Unlike open sensors, the sealed radar unit won't be damaged by water. You can safely rinse it clean without worrying about water ingress. Light dust and dirt won't affect detection accuracy.
Position Verification Check
Even with correct initial installation, vibration can shift sensor position over time.
Monthly Position Check
- Height check: Measure from ground to sensor center - should be 600-800mm
- Triangle orientation: Verify triangle marking still faces upward
- Horizontal alignment: Sensor faces straight back (use phone compass if needed)
- Pitch angle: Sensor perpendicular to ground (use phone level app)
- Mounting bolts: Check all bolts are tight
- Clearance: Ensure luggage or accessories don't block 120° detection zone
Cable Connection Maintenance
The radar cable carries power and data - any connection issue affects system performance.
Monthly Cable Inspection
- At sensor: Check connector is fully seated, no corrosion on pins
- Cable routing: Verify cable isn't pinched, melted, or rubbing against frame
- At main unit: Ensure radar port connection is secure
- Zip ties: Replace broken ties, secure any loose cable sections
🔌 Cable Safety Rule
Do not plug or unplug the radar cable while the device is running. Always power off the main unit first. Hot-plugging can permanently damage the radar module and void your warranty.
Testing Your Radar System
Regular testing ensures the system is working correctly and alerts appear as expected.
Monthly Detection Test
- Find safe, empty area (parking lot or quiet road)
- Have friend approach from behind on bike/in car at 20-30 km/h
- At 10m distance: Yellow alert should appear on screen bottom with accompanying sound
- At 3-10m: Yellow alert continues (left/right/bottom depending on position) with sound warning
- Under 3m: Alert changes to red with continued sound warning
- Test approaches from left rear (within 60° angle), right rear (within 60° angle), and directly behind
- Verify alerts disappear when vehicle moves away beyond 10m
If alerts don't appear: Check cable connections, verify triangle marking faces up, ensure sensor height is 600-800mm, confirm mounting isn't on metal surface. If visual alerts work but no sound, check audio settings in system menu.
Environmental Factors
Rain and Wet Conditions
The sealed sensor is fully waterproof. Heavy rain may slightly reduce detection range but system continues to function. No special maintenance needed after riding in rain.
Extreme Cold (Below -10°C)
Ice buildup on sensor face can block detection. Clear ice before riding. System operates normally once ice is removed.
Extreme Heat (Above 40°C)
Sensor operates normally in high heat. No special precautions needed.
Heavy Fog or Snow
Detection range may reduce in very heavy fog or snow (normal radar limitation). System still detects vehicles at closer ranges. Rely more on mirrors in these conditions.
Troubleshooting Guide
| Problem | Solution |
|---|---|
| No alerts at all | Check cable connections, verify triangle faces up, ensure radar enabled in settings |
| Visual alerts work but no sound | Check audio settings in system menu, verify volume is not muted, ensure sound alerts are enabled |
| Constant false alerts | Check for metal mounting, verify sensor is level and centered, ensure proper height |
| Reduced detection range | Clean heavy mud/grime, verify height 600-800mm, check sensor angle is perpendicular |
| Alerts only on one side | Sensor angled horizontally - check it faces straight back, not tilted left/right |
| Wrong alert colors | Normal: Yellow 3-10m, Red <3m. If reversed, contact support |
| Triangle marking upside down | Remount sensor - triangle MUST face upward for correct operation |
| "Radar Error" message | Power cycle system, check cable connections, contact support if persists |
Firmware Updates
Carpuride releases firmware updates that improve radar detection algorithms, reduce false alerts, and enhance performance in various weather conditions. Check for updates quarterly through Settings > System > Software Update.
Maintenance Checklist
✓ Monthly
- ☐ Clean sensor if heavy mud/grime present
- ☐ Verify triangle marking faces upward
- ☐ Check sensor height: 600-800mm from ground
- ☐ Verify sensor faces straight back (horizontal alignment)
- ☐ Check sensor is perpendicular to ground (pitch angle)
- ☐ Inspect cable connections
- ☐ Tighten mounting bracket bolts
- ☐ Perform detection test (yellow 3-10m, red <3m, with sound alerts)
- ☐ Verify no obstructions in 120° detection zone
- ☐ Test sound alert functionality
✓ Quarterly
- ☐ Check for firmware updates
- ☐ Deep clean sensor and mounting area
- ☐ Verify mounting surface integrity (if plastic spacer used)
FAQ
Why must the triangle marking face upward?
The triangle indicates the sensor's internal antenna orientation. Installing it upside down or sideways causes incorrect detection patterns and reduced range. Always ensure the triangle faces up for proper 120-degree coverage.
Can I mount the radar on my metal fender?
No. Metal surfaces severely interfere with radar waves, reducing detection range by up to 80% and causing constant false alerts. Mount only on plastic, composite, or fiberglass surfaces. If metal is your only option, install a plastic spacer plate (at least 5mm thick) between sensor and metal.
What's the difference between yellow and red alerts?
Yellow alerts (3-10m range) warn you a vehicle is approaching your blind spot - safe to be aware but not critical. Red alerts (under 3m) indicate a vehicle is very close and requires immediate attention before changing lanes. The alert position (left/right/bottom) shows where the vehicle is located within the 120-degree detection zone. Both visual and sound alerts work together to ensure you're aware of approaching vehicles.
Does the radar need calibration?
No. The Carpuride radar BSD system does not require calibration. It works automatically once properly installed at the correct height (600-800mm), with triangle facing up, and mounted on non-metal surface. If you experience detection issues, verify these installation requirements first.
Why do I get false alerts in parking lots?
This is normal. The radar detects stationary objects (walls, parked cars, poles) when you're moving slowly. The system is designed for road/highway use where relative speed helps filter out stationary objects. False alerts in parking lots at low speeds don't indicate a problem.
Can I turn off the sound alerts?
Yes. Sound alerts can be adjusted or muted in the system settings menu if you prefer visual-only warnings. However, we recommend keeping sound alerts enabled for maximum safety awareness, especially in noisy riding conditions where you might not notice screen flashes.
🛡️ Ride Safer with Radar BSD
Proper installation (triangle up, 600-800mm height, center rear) + minimal maintenance = reliable blind spot protection with dual visual and sound alerts for years.
📞 Radar BSD Support
Questions about installation or maintenance? We're here to help.
Email: service@carpuride.com
Model: 702RS Pro with Radar BSD